

Whether you are a homeowner or a property manager, dealing
with a leaky roof can be a daunting task. However, with proper knowledge and
guidance, you can address this issue effectively and prevent further damage to
your property. This guide will take you through the step-by-step process of
fixing a leaky roof, providing you with the tools and insights necessary to
tackle this challenge with confidence. From identifying the source of the leak
to inspecting the roof surface, we will walk you through each stage, ensuring
that you have a solid understanding of the necessary steps to restore your
roof's integrity. Let's dive in and learn the essentials of roofing maintenance
and repair together.
Identify the Leak Source
The first step in addressing any roofing issue is proper
identification. Begin by inspecting the interior of your home for signs of
water damage which include water stains on ceilings or walls, mold growth, or
drips during rainfall. Once you have an idea of where the leak might be coming
from inside, head up to your attic (if accessible) with a flashlight to further
trace the leak’s path along rafters or insulation. Remember that water doesn't
always travel straight down; it may follow beams or pipes, so trace back as far
as necessary.
Inspect Roof Surface
After pinpointing potential areas from inside, it’s time to
inspect the exterior roof surface. Safely climb onto your roof using
appropriate safety gear such as a harness and non-slip shoes. Check for visible
damage like missing shingles, cracked tiles, damaged flashing around chimneys
or skylights, or clogged gutters that could cause water buildup. Take note of
any soft spots underfoot which could indicate moisture damage beneath the
roofing material.
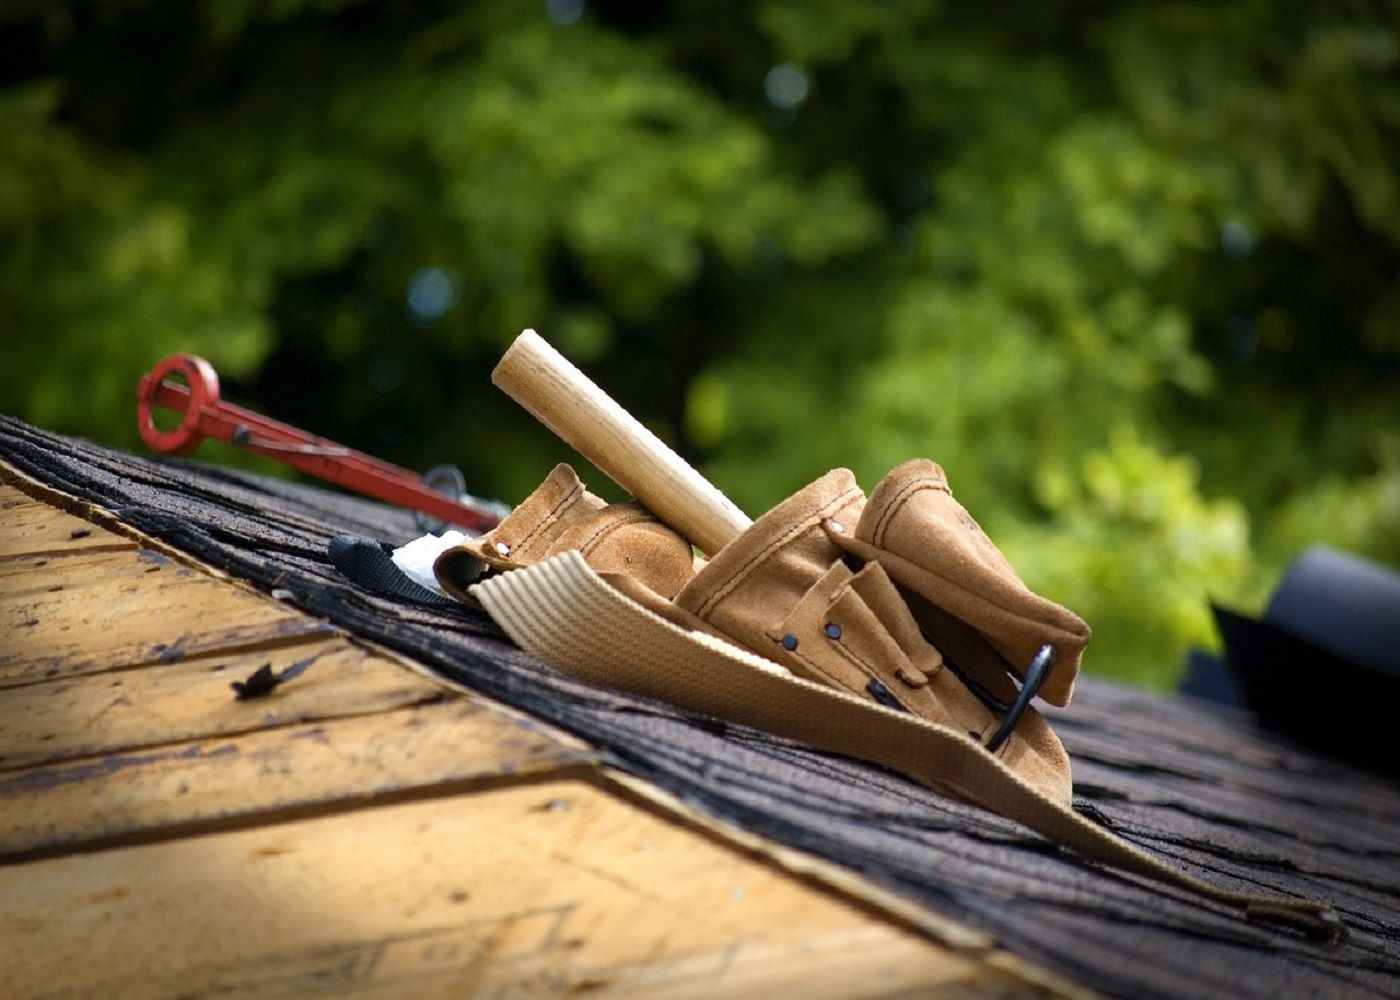
Gather Tools and Materials
Before embarking on the repair process, it's crucial to have
the necessary tools and materials at hand. Ensuring that you have everything
ready beforehand will streamline the repair process and minimize any
disruptions. Here are some essential tools and materials you will need:
- Safety Gear: Prioritize your safety by wearing appropriate
safety gear, including a harness, non-slip shoes, and gloves, to protect
yourself from potential hazards.
- Pry Bar: Use a pry bar to gently lift overlapping shingle
edges during the repair process.
- Pliers: Pliers are essential for removing nails from damaged
shingles.
- Replacement Shingles or Tiles: Have an adequate supply of
replacement shingles or tiles that match the existing ones on your roof.
- Waterproof Adhesive: This adhesive is necessary for
repairing cracked tiles and ensuring a secure hold.
- Ladder: Ensure you have a sturdy ladder that allows you to
safely access and work on your roof.
- Hammer: A hammer is handy for securing nails and fasteners
during the repair process.
- Roofing Cement: Roofing cement is useful for sealing gaps or
securing loose components.
- Sealant: Choose a high-quality sealant to provide a
watertight seal and protect against moisture damage.
Having these tools and materials ready will enable you to
efficiently and effectively repair any damaged areas on your roof, ensuring its
longevity and protecting your home from potential water damage.
Repair Damaged Areas
Repairing damaged areas on your roof is essential to
maintain its integrity and protect your home from potential water damage. When
it comes to roof repairs, it's crucial to address any issues promptly to
prevent further deterioration. Here are some key steps to follow when repairing
damaged areas:
- Identify the Problem: Begin by inspecting your roof for any
signs of damage, such as missing or damaged shingles, cracks, or leaks. This
will help you pinpoint the areas that require immediate attention.
- Clean and Prepare: Before starting the repairs, ensure that
the damaged area is clean and free from debris. Use a broom or a brush to
remove any dirt or loose materials.
- Replace or Repair Shingles: If you notice any missing or
damaged shingles, replace them promptly to maintain the functionality and
aesthetics of your roof. Ensure that the new shingles are properly aligned and
securely fastened.
- Seal Gaps and Cracks: Use roofing cement or a high-quality
sealant to seal any gaps or cracks in your roof. This will provide a watertight
seal and protect against moisture damage.
- Inspect and Reinforce Flashing: Check the flashing around
chimneys and vents. If you notice any signs of wear or damage, repair or
replace the flashing to prevent water infiltration.
By following these steps and addressing damaged areas
promptly, you can ensure the longevity of your roof and protect your home from
potential leaks and water damage. Remember to prioritize safety and, if
necessary, consult a professional roofing contractor for complex repairs or if
you're unsure about the extent of the damage.
Utilize Spray Foam Insulation
Spray foam insulation is an effective solution for enhancing
the energy efficiency and comfort of your home while also providing added
protection against roof leaks. This type of insulation creates a seamless
barrier, sealing any gaps or cracks in the roof structure, preventing water
from seeping in and causing damage. The unique properties of spray foam
insulation also contribute to better temperature regulation, reducing the
strain on your heating and cooling systems. By investing in spray foam
insulation, homeowners can fortify their roofs and enjoy the benefits of
improved energy efficiency and long-term cost savings. Consult with a
professional contractor experienced in spray foam insulation to determine if
this solution is suitable for your specific roofing needs.
Prevent Future Leaks
Preventing future roof leaks requires a proactive approach
and regular maintenance. Here are some crucial steps to take:
- Inspect and Maintain Gutters: Regularly clean and maintain
your gutters to ensure proper water drainage. Clogged gutters can lead to water
backup, which can seep into the roof and cause leaks.
- Trim Overhanging Branches: Overhanging branches can damage
the roof surface and provide a pathway for water to enter. Trim back any branches
that come into contact with your roof.
- Schedule Regular Roof Inspections: Engage a professional
roofing contractor to conduct routine inspections and identify any potential
issues before they become major problems. They can assess the condition of your
roof, identify weak areas, and perform necessary repairs or maintenance.
- Address Damaged Shingles Promptly: Replace any damaged or
missing shingles as soon as possible. Damaged shingles can create
vulnerabilities in your roof, allowing water to penetrate and cause leaks.
- Ensure Proper Attic Ventilation: Adequate attic ventilation
is essential to prevent moisture buildup, which can lead to roof damage and
leaks. Consult a professional to assess your attic ventilation system and make
any necessary adjustments.
- Avoid Walking on the Roof: Walking on the roof can cause
damage to the shingles and other roofing materials. Whenever possible, avoid
unnecessary foot traffic on your roof.
By implementing these preventive measures and conducting
regular maintenance, homeowners can minimize the risk of future roof leaks and
protect their homes from water damage. Remember, a well-maintained roof is key
to the longevity and integrity of your home's structure.
By promptly identifying and addressing roof leaks, homeowners
can prevent further damage and costly repairs. Remember, addressing a leak at
its early stages is crucial to avoid more extensive issues down the line.
Through a systematic process of identifying the source, evaluating the damage,
and implementing the necessary repairs, homeowners can safeguard their homes
from water damage and maintain the integrity of their roofing system. By
following the steps outlined in this guide, you can take proactive measures to
protect one of your home's most vital protective layers and ensure its
longevity for years to come.


