

Apart from making your house uncomfortable, energy loss
from poorly insulated homes raises your energy costs. You can keep your house
warmer in the winter (and cooler in the summer) without going over budget by
fixing typical gaps and inefficiencies. The following list of 14 do-it-yourself
house insulation techniques includes detailed instructions on how to apply or
install each technique. By filling up small gaps or increasing the insulation
value of your attic, these methods can greatly increase the energy efficiency
of your house.
1. Weather-stripping Doors and Windows
Seal drafts around doors and windows with weather-stripping.
Installation Steps:
i. Measurement: Measure the length of each door or window
frame where leakage occurs.
ii. Dust and grease off the edges with a damp cloth.
iii. Cut to Size: Cut the material for weather-stripping to
the length measured.
iv. Remove: Remove the adhesive backing from the
weather-stripping and press firmly into place along the frame.
v. Check: Ensure a tight, air-tight seal by closing the door
or window.
Weatherstripping is one of the easiest and cheapest ways of
sealing your home's biggest leaks.
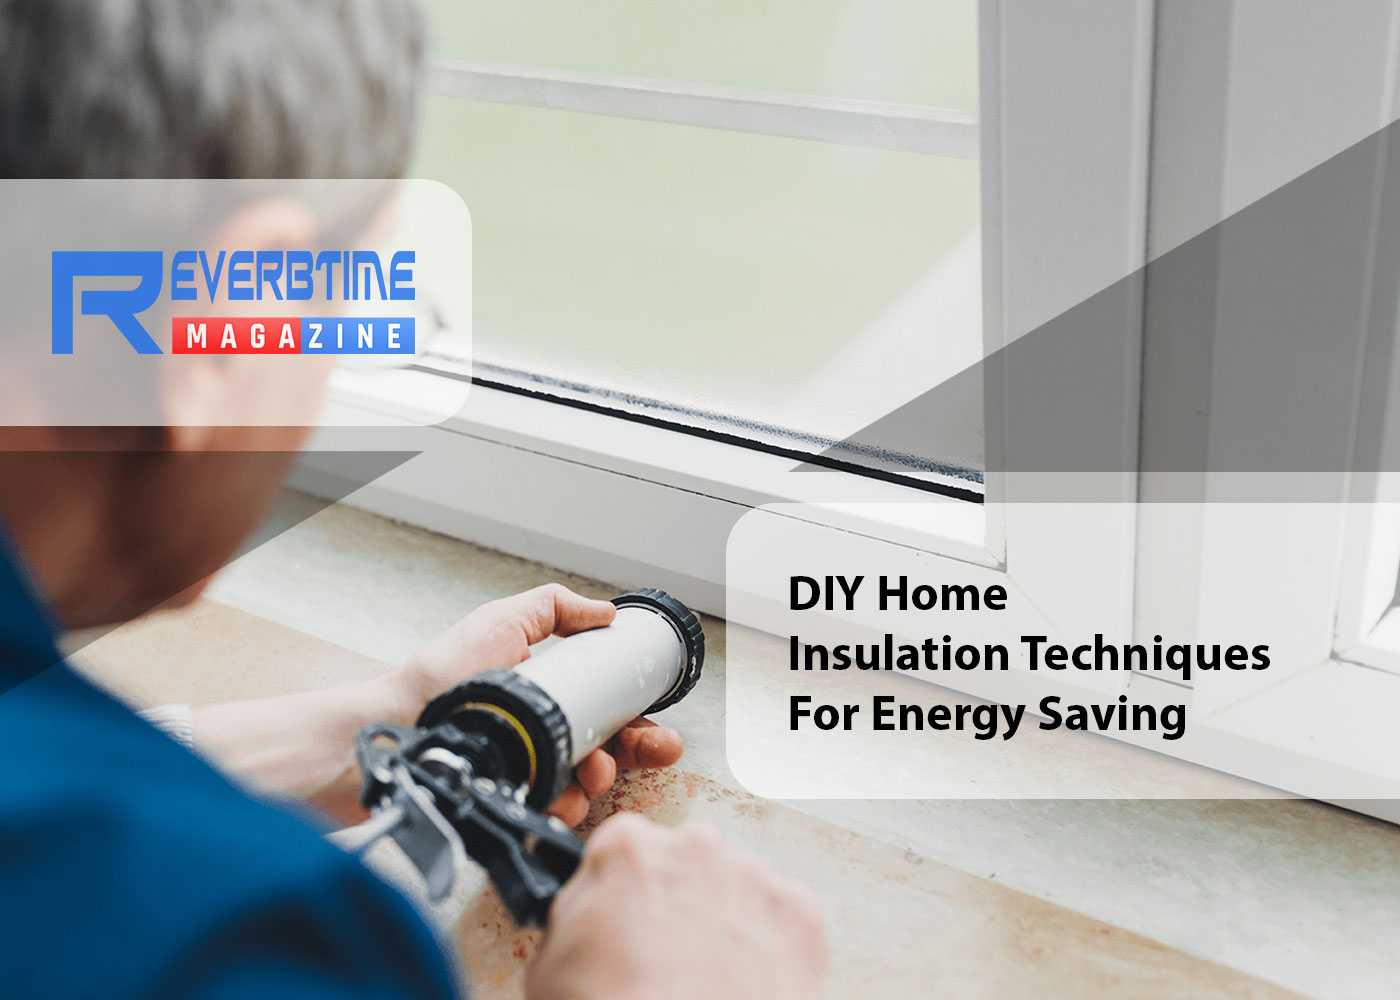
2. Caulking Around Vents
Gaps in vents such as those for dryers, bathrooms and kitchens let air escape, making your home less energy efficient. A simple and effective way to solve this problem would be to seal these gaps with caulk.
Installation Steps:
i. Vent Openings: Look for gaps and drafts at vent openings
– inside and outside your home.
ii. Choose the right caulk: For exterior vents, use a
weatherproof silicone caulk. An acrylic latex caulk should be sufficient for
interior use.
iii. Prepare the Surface:
a. Wipe Away Dirt: Dirt, dust, and old caulk or paint have
to be wiped away to make sure they stick.
b. Surface Dry: Ensure the surface is dry before applying
the seal as moisture will interfere.
iv. Apply the Caulk:
a. Regulate the flow: Cut the caulk tube nozzle at a 45-degree angle to regulate the flow.
b. Applying evenly: Use a caulking gun to apply a continuous
bead of caulk to the gap, applying steady pressure.
Smooth the Seal: Using a caulk smoothing tool or a finger
wet with water, smooth the bead over the bead to fill the space completely.
v. Caulk Cure: Wait until the caulk has cured as per the manufacturer’s
instructions before exposing the caulk to water or covering it with paint.
3. Installing Window Insulation Film
Technique: Cover windows with a plastic insulation film to form another air layer and minimize heat loss.
Installation Steps:
i. Make the Glass and the Window Frame Dust Free.
ii. Double-Sided Tape: Cover the window frame with double-sided tape.
iii. Cut clear plastic film to size, press firmly onto the
tape.
iv. Dry with a hairdryer on low heat until it shrinks tight
and wraps on smoothly, also making an airtight seal.
v. Gently snip off excess film from edges.
This is a common winter method of keeping drafts out and
keeping windows warmer.
4. DIY Draft Stoppers (Door Snakes)
Make a custom door draft stopper to keep cold air from coming in through the bottom of a door.
Installation Steps:
i. Measure the width of the door.
ii. Cutting: Cut a piece of thick fabric (like an old
blanket or towel) 6 inches long and as wide as the door.
iii. Sew the sides with one end open and fill with fabric
scraps.
iv. Sew or tie the open end securely.
v. Put your new “door snake” at the bottom of the door to
keep drafts out.
This is an affordable solution that can reduce heat loss at
door bottoms by a large amount.
5. Adding Attic Insulation
Method: Add extra fiberglass batts or blown-in cellulose in your attic to block heat loss from above.
Installation Steps:
i. Measure Existing Insulation: Make sure the insulation is
even and at the correct depth.
ii. Choosing insulation type: Look for fiberglass batts or
loose-fill insulation that meets your climate’s demands.
iii. Batts: Measure wall space between rafters and cut the
insulation to length.
iv. Install the insulation uniformly across the attic floor,
so there are no gaps or compressed areas.
v. To seal gaps: Fill the gaps between wiring, pipes, and
ductwork with more insulation or foam.
An attic insulation upgrade is one of the most effective ways
to increase the energy efficiency of your home.
6. Insulating Electrical Outlets
Technique: Seal gaps that are found in electrical boxes on the exterior walls with foam outlet gaskets.
Installation Steps:
i. Switch-Off Electricity: As a safety precaution, turn off
electricity at the main switch or circuit breaker.
ii. Outlet Covers: Unscrew and take off the outlet covers.
iii. Install the foam Outlet gaskets: Cut the gasket to the
required size, then place it around the outlet box.
iv. Replace Cover: Reinstall the cover plates and make sure
that the gasket is properly in place.
This measure will help to prevent the cold draft from entering
the house through little cracks and spaces around the outlets.
7. Installing Door Sweeps
Method: Install door sweeps at the bottoms of doors to prevent drafts from coming in through the bottom of the door.
Installation Steps:
i. Measure the Door: The width of the door should also be
measured to determine the size that would be appropriate for the door.
ii. Select a Sweep: The next step is to choose a door sweep
that corresponds to the size of your door.
iii. Position: Take the sweep and fit it into the bottom
edge then mark the positions where the screws will go in.
iv. Drill: First drill pilot holes, then screw the sweep so
that it is tightly fixed in place.
v. Check: open and close the door to confirm that the sweep
rubs the floor tightly without limiting the door’s swing.
Under-door draft is one of the most common problems that
people face during winter and door sweeps are an effective and cheap solution
to this problem.
8. Insulating Water Heater Pipes
Method: Insulate water heater pipes with foam pipe insulation sleeves to minimize heat loss.
Installation Steps:
i. Pipe Measurements: Get the length and the diameter of the
pipes.
ii. Cut Insulation: Before installation, the foam insulation
should be cut to the appropriate lengths to ensure that it fits perfectly.
iii. Secure: Wrap the insulation around the pipes and use
adhesive tape or clips to fix it in place.
iv. Seal the Joints: Ensure that all the joints on the pipes
are well covered to avoid any gaps.
This technique is used to ensure that hot water remains hot
for a longer period hence saving energy.
9. Applying Radiant Barrier Foil in the Attic
To block radiant heat from entering your spaces you should put radiant barrier foil underneath your roof rafters.
Installation Steps:
i. Buy reflective foil that works well in attic areas.
ii. Clean up the area under roof rafters by removing all
waste materials.
iii. Fasten radiant barrier foil (shine side down) to the
bottom of the rafters using staples to create a smooth surface.
iv. Keep a space between the insulation layer and the foil
to make sure heat stays away from living spaces.
A radiant barrier helps reduce cooling costs in warm
climates by stopping heat from entering the attic.
10. Installing Insulating Curtains
Use heavy insulated curtains to shield your windows from losing heat in your home.
Installation Steps:
i. Pick thermal-lined curtains that help insulate your
space.
ii. Make sure your curtain rod attaches firmly to the wall.
iii. Position the curtains to cover every part of the window
and extend beyond it by a few inches on both sides.
iv. Open your curtains to welcome sunshine during the day
and pull them closed at night to keep warmth inside.
Thermal curtains help protect your home from heat loss because
they create an insulating barrier.
11. Using Area Rugs for Floor Insulation
Place thick area rugs over empty floors to insulate your space and decrease heat loss through the floor.
Installation Steps:
i. Select Rugs: Choose rugs with dense, warm materials.
ii. Vacuum-clean or sweep the floor thoroughly before
placing the rug.
iii. Put rugs where people walk the most and use them to
cover draft openings.
iv. Optional: Place non-slip pads under rugs to keep them
secure from movement.
12. Insulating Basements and Crawlspaces
Method: Insulate basement walls and crawlspaces to minimize heat loss from below.
Installation Steps:
i. Before insulating, check for moisture problems and repair
any leaks.
ii. Select Material: You can use foam board insulation for
the basements or fiberglass batts that are appropriate for basements.
iii. Pre-treat Surface: Wash the walls and make sure they
are free from moisture.
iv. Installing insulation: The foam boards should be cut to
size and fixed using the suitable adhesives and screws, it should be fitted perfectly in between the wall studs.
v. Seal Joints: It is advisable to use foil tape or caulk to
seal the joints and other gaps that may be present on the surface of the panel.
Basement insulation is not only good for comfort but also
can be good for energy efficiency of your home.
13. DIY Bubble Wrap Window Insulation
Technique: Cover the windows with bubble wrap to minimize the chances of getting drafts and heat loss during a short time period.
Installation Steps:
i. Preparation: Make sure the window surface has no debris
or dust on it and is free from moisture.
ii. Prepare Bubble Wrap: Bubble wrap should be cut to the
size of the window pane.
iii. Prepare the Window Surface: Wet the window slightly
with water to ensure the bubble wraps stick well on the surface.
iv. Press the bubble wrap (the side with the bubbles should
be placed on the glass side) onto the window.
v. Secure Edges: The edges of the bubble wrap should be
secured using tape.
It is not as long-lasting as other materials but if you need insulation for a cold night, then bubble wrap insulation is easy to do and
doesn’t cost a thing.
14. Draught-Proofing Your Chimney
The fireplace and an open chimney is a significant source of heat loss since they allow the warm air to escape and cold air to freely enter. Preventing this unwanted airflow is done through draught-proofing the chimney and this will increase your home efficiency.
Installation Steps:
i. Chimney Condition Check: The chimney should be clean and
should not have anything blocking its path. If not, think about getting a
long-term solution; otherwise, go for a short-term blockage solution.
ii. Choose a Chimney Draught Excluder: A number of products
are available to stop air from entering, including chimney balloons or
inflatable pillows. These are placed in the chimney flue and filled with air to
ensure that they form a necessary seal.
iii. Install the Draught Excluder:
a. Precautions: Put on gloves and make sure that the
fireplace is cold before starting to work on it.
b. Insertion: Partially inflate the device and place it in
the chimney slightly above the fireplace opening.
c. Inflation: Blow air into the device until it comes into
contact with the walls of the chimney and forms a tight seal.
d. Secure and Monitor: Check that the device is firmly in
position. Check its position regularly and pump it up whenever you feel there
is a need for it to be inflated more.
Ensure that the draught excluder is taken away before
operating the fireplace to avoid some risks.
Conclusion
Improving the insulation of your house doesn't have to
involve a whole makeover, it can start with these easy energy-saving
do-it-yourself tasks that add a significant improvement to your home. You can
greatly cut down on heat loss and increase energy savings by caulking gaps,
weatherstripping, improving your attic insulation, and utilizing a combination
of inexpensive solutions like thermal curtains and reflective foil. These 14
methods provide a practical strategy for a more comfortable and functional
house. Each improvement makes your living area comfortable and more
cost-effective, whether you're fixing a draughty door, insulating a cold attic,
or just putting a rug on a barren floor.
Share:


