

Peel-and-stick backsplash tiles provide a straightforward
and budget-friendly solution for kitchen or bathroom design transformation
without the complex process of traditional tiles. Self-adhesive tiles were made
with simple installation in mind mostly for people doing it themselves. By the
end of this post, you must have successfully installed a perfectly looking
peel-and-stick backsplash tiles.
What is Peel-and-Stick Tile?
Peel-and-stick tile functions as a self-adhesive backsplash
material that permits simple installation through direct application without
requiring grout or mortar. The various materials available for these tiles
consist of vinyl, gel, metal, glass and stone which provides customers with
budget-friendly options compared to conventional backsplash installation
methods. The tiles provide a fast solution for decoration to both people who
rent homes and people who own homes.
How Long Do Peel-and-Stick Backsplash Tiles Last?
The durability of peel-and-stick backsplash tiles is determined
by three main elements, material composition, product quality and room exposure
conditions. Peel-and-stick tiles with high-quality standards can survive
between 5 to 7 years or longer with proper maintenance and installation. Tiles
installed behind stoves or in highly moist locations will tend to have a reduced
lifespan. The lifetime of these tiles can be extended through appropriate
installation on cleaned smooth surfaces and by reducing moisture contact.
Which Peel-and-Stick Backsplash Tile is Best for you?
For house remodeling, peel-and-stick tiles are a
cost-effective and simple solution. They are made of different materials, each
of which is appropriate for a certain purpose:
1. Vinyl Tiles: Perfect for bathrooms and kitchens, these
tiles are affordable, long-lasting, and waterproof.
2. Metal tiles: Made of stainless steel or aluminum, these
tiles are ideal for contemporary backsplashes but must be handled carefully.
3. Glass tiles: These offer a smooth, glossy surface that is
excellent for accent walls but fragile.
4. Stone Tiles: These add elegance and provide a natural appearance
with genuine stone veneer, but they require additional adhesive.
5. Gel Tiles: Lightweight, 3D-like alternatives that mimic
real tiles, best for renters.
6. Wood Tiles: Bring warmth and texture to spaces but are
not ideal for moisture-prone areas.
Materials Needed for Installing Peel-and-Stick Tiles
- Peel-and-stick backsplash tiles
- Measuring tape
- Level
- Pencil
- Utility knife or tile cutter
- Ruler or straight edge
-Cleaning supplies like rubbing alcohol, and microfiber
cloth
- Caulk and caulking gun (optional but recommended)
- Primer (if recommended by the tile manufacturer)
Where to Buy the Best Peel-and-Stick Tiles
You can find peel-and-stick tiles at both home improvement
stores and online retailers. These locations offer the best selection for tile
purchase:
- Home Depot
- Amazon
- Jumia
- Wayfair
- Walmart
- WallPops
- Lowe’s
- Jes Rose
- AliExpress
- AliBaba
- Tile specialty stores
Check customer reviews beforehand to guarantee tile
quality and longevity before making a purchase.
What Must be Done Before Installing Peel-and-Stick Tile?
1. Measure the Area: Find out how much square footage needs
to be bought for the correct quantity of tiles.
2. Clean the Surface: To get rid of oil, dust and dirt, use
rubbing alcohol to clean the wall.
3. Examine for Damage: To ensure a smooth application, fix
any fractures or uneven spots.
4. Plan the Layout: To guarantee a smooth design flow,
dry-fit the tiles before removing the backing.
5. Mark Guidelines: Ensure correct alignment by marking straight
lines using a pencil and level.
How to Cutt Your Peel-and-Stick Tiles
A professional finish is guaranteed with proper cutting:
1. Measuring: Take measurements of the space where the tile
will be placed, taking into consideration any corners or outlets.
2. Marking: Using a pencil and straight edge, mark the
tile's measurements on the back.
3. Cutting: Cut along the indicated lines using a utility
knife or sharp scissors. Special equipment like glass cutters will be required
for easy cuts, particularly when working with materials like metal or glass.
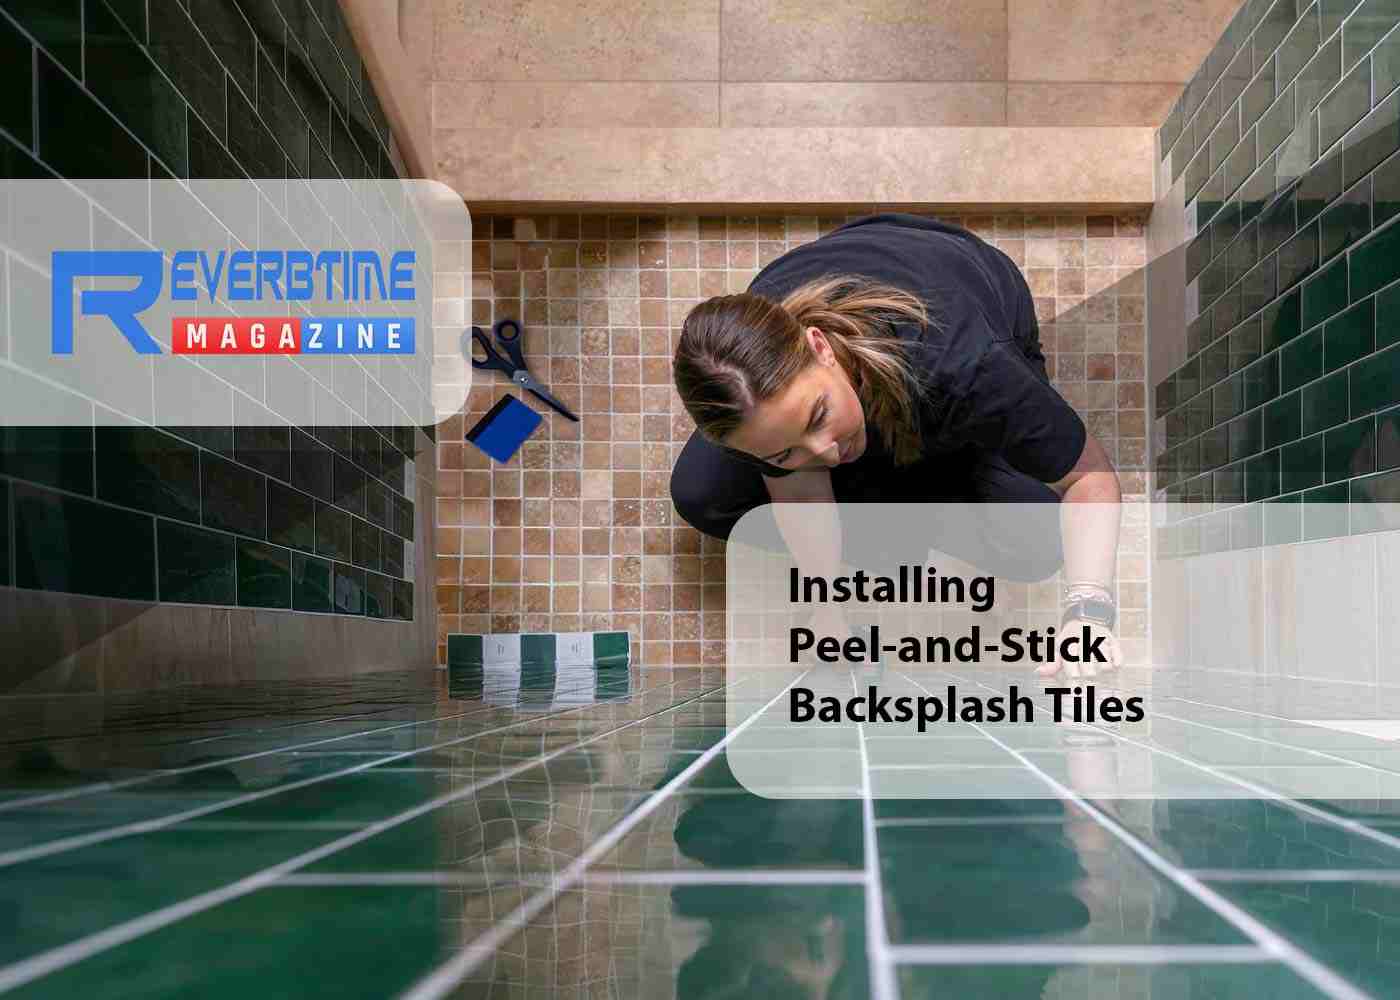
Steps to Installing the Peel-and-Stick Tiles
1. Peel the Backing: Carefully remove the adhesive backing
from one tile at a time.
2. Align and Stick: In following the guidelines you drew,
press the tile up against the wall.
3. Press Firmly: Use your hand or a roller to press down on
air bubbles and make sure they stick properly.
4. Continue with the Process: Work in segments, aligning
tiles to create a smooth finish.
5. Trim as necessary: For edges and outlet cutouts, use a
utility knife to trim.
6. Final Pressing: To ensure consistency, run a roller over
each tile.
Why Caulking Is Essential After Installing Peel-and-Stick Tile?
Caulking aids in sealing the backsplash's edges, avoiding
entry of moisture that over time could damage the adhesive. It also gives a
completed, polished appearance. Particularly close to sinks and stoves, use a
transparent or color-coordinating caulk around the borders.
What to Do After Installing Peel-and-Stick Tile
1. Give the glue at least 24 hours to dry before washing or exposing
it to steam.
2. Clean Gently: To clean the tiles, use a wet cloth and light
soap. Steer clear of strong chemicals that might cause the glue to weaken.
3. Examine for Loose Edges: If any tiles are loose, press
them down and use more glue if needed.
Is It Possible for Peel-and-Stick Tile to Cover Old Tile?
It is possible to apply peel-and-stick tiles over
pre-existing tiles as long as the surface is clean and smooth. However, to
guarantee adequate adherence, severely wrinkled or damaged tiles could need
further preparation, such as sanding or priming.
Benefits of Peel-and-Stick Tile
1. Easy to Install: No need for professional help or complex
tools.
2. Cost-Effective: More affordable than traditional
backsplash options.
3. Variety of Designs: Available in numerous colors,
patterns, and materials.
4. Temporary or Permanent: These are perfect for tenants
since they can be taken down without causing any damage to the walls.
5. Low Maintenance: Very easy to clean and maintain.
Conclusion
Following these guidelines precisely will help easily
achieve a successful peel-and-stick backsplash installation with minimal tile
installation difficulties and easy maintenance.
Share:


