

Refinishing hardwood floors brings back their original
attractiveness and durability. You can refinish your floors without sanding, even though traditional refinishing methods need it. This guide presents a
complete step-by-step approach for hardwood floor refinishing without sanding
and discusses essential points like pros and cons of the method along with
costs and needed materials as well as preparation steps and application
procedures and frequent errors to avoid and ongoing care instructions.
Benefits of Refinishing Hardwood Floors Without Sanding
1. Time and Labor Efficiency: The elimination of sanding
procedures saves both time and labor required for refinishing tasks.
2. Cost Savings: The elimination of sanding results in
reduced labor costs and eliminates the need for heavy equipment rentals.
3. Preservation of Floor Thickness: Sanding destroys thin
floors by removing wood layers.
4. Decreased Dust and Mess: The amount of dust increases
significantly whenever you choose to sand floors. Refinishing without sanding
results in a cleaner procedure since it generates less dust.
How Much Will It Cost to Refinish Your Hardwood Floors Without Sanding?
These costs are per square foot:
1. Bamboo: $2 to $6.
2. Mohagany: $6 to $8.
3. Oak: $3 to $5.
4. Cherry: $3 to $5.
5. Parquet: $3 to $5.
6. Maple: $6 to $8.
7. Pine: $4 to $7.
8. Engineered Hardwood: $3 to $5.
Materials Needed for Refinishing Your Hardwood Floors
1. Floor Cleaner.
2. Use a Floor Buffer combined with a maroon buffing pad.
3. Vacuum Cleaner.
4. Tack Cloths function as tiny dust collectors.
5. Protective Gear (Respirators, safety goggles, and
gloves).
6. Painter's Tape and Plastic Sheeting.
7. When applying a new finish, choose between a lambswool pad or
paintbrush or paint roller extension for smooth application across your floors.
8. Floor Finish: A premium water- or oil-based polyurethane
or any appropriate floor finish.
Floor Preparation
Getting the Best Finish from your Floor Needs the Right
Floor Preparation:
1. Clear the Space: First, Remove Every Item Including
Furniture and Carpets from the Room's Space.
2. Clean the Floor: Sweep and thoroughly clean the floor to
eliminate dust and dirt.
3. Protect Surrounding Areas: Before starting, use plastic sheeting
and painter's tape to protect baseboards and vents and surrounding surfaces.
4. Check for Damage: Keep an eye out for any loose boards,
damaged places, or protruding nails. Use the proper wood filler to fix minor
damage and secure loose boards.
5. Let Dry: Before moving on to the next step, make sure the
floor is totally dry.
Steps to Refinishing Your Hardwood Floors Without Sanding
1. Buff the Floor: Lightly scratch the current surface with
a floor buffer equipped with a maroon buffing pad. This procedure, called
screening, aids in the proper attachment of the new finish.
2. Dust Removal: To get rid of all the dust and debris left
behind after the buffing procedure, give the floor an intensive vacuuming. To
remove any last bits of fine material, use a tack cloth afterward.
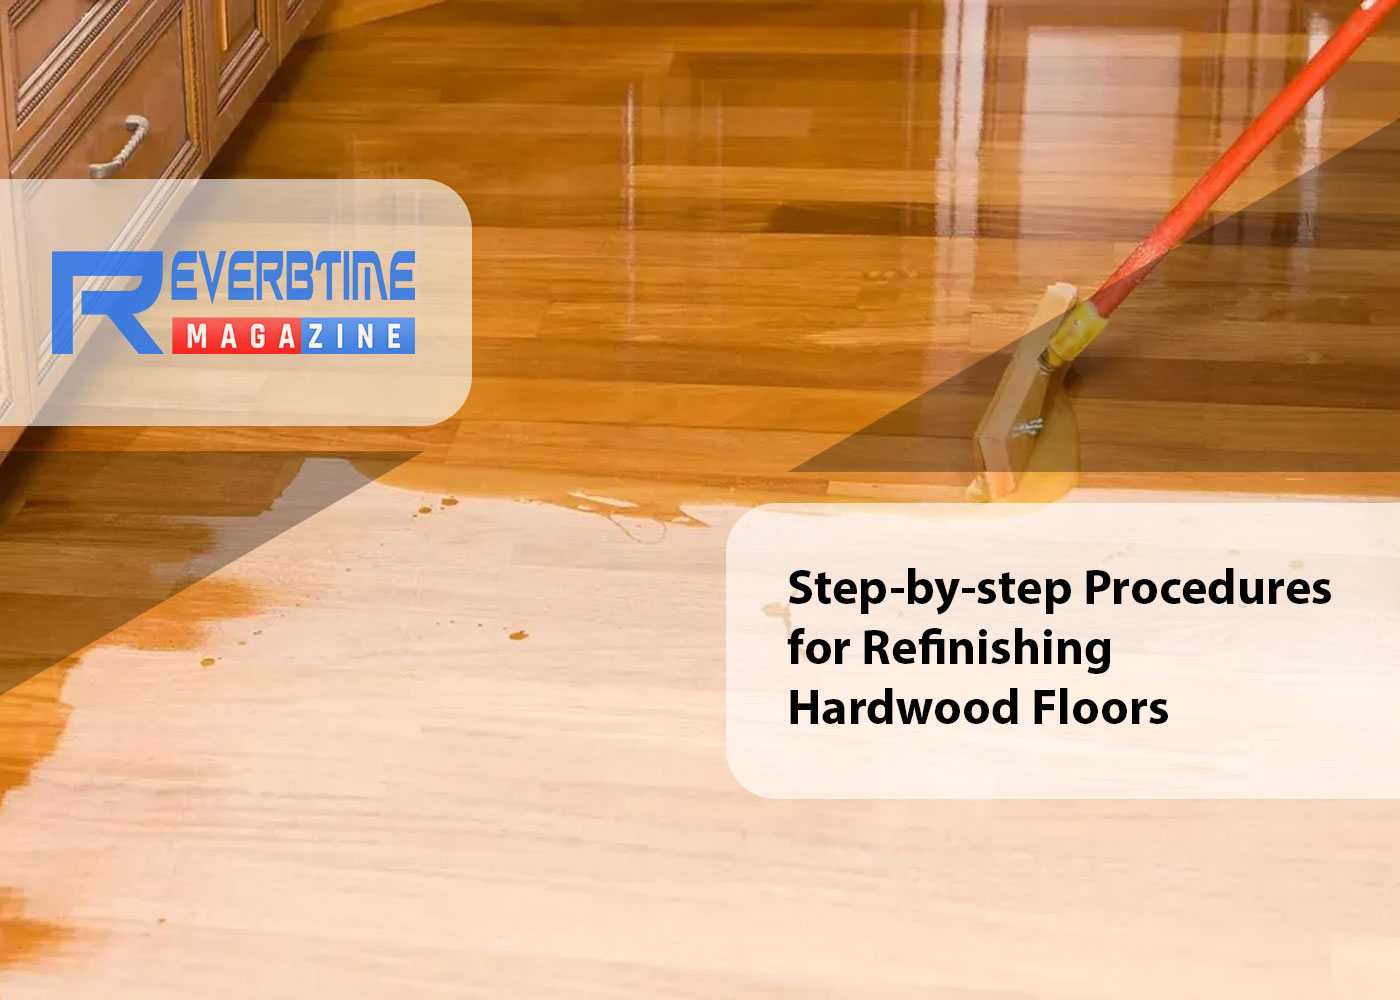
3. Apply the New Finish: Apply a thin, uniform layer of your
preferred floor finish using a roller or lambswool applicator for big areas and
a paintbrush for edges. To guarantee a smooth application, work in the
direction of the wood line.
4. Leave to Dry: Give the finish the time it needs to dry,
which usually varies from a few hours to a full day, as directed by the
manufacturer. Make sure there is adequate ventilation in the space throughout
this period.
5. Apply Additional Coats: To increase durability, apply a
minimum of one additional coat of finish, letting each coat to dry before
applying the next. To guarantee good adherence, lightly buff the floor with a
small abrasive pad in between layers.
Mistakes to Avoid When Refinishing Hardwood Floors Without Sanding
1. Inadequate Cleaning: The new finish could fail to set
correctly if the floor is not completely cleaned. Before applying, make sure
all residues, dust, and grime have been eliminated.
2. Neglecting the manufacturer's guidelines: There are
particular requirements for every product. Ignoring these might result in poor
outcomes or even harm. Always stick to the suggested drying durations and
application techniques.
3. Skipping Compatibility Tests: What you should know is
that not all finishes work for every floor. Peeling or bubbling may result when
applying an unsuitable finish. To make sure the new finish sticks properly to
the old finish, test it on a little, separate area.
4. Ignoring Protective Gear: Refinishing treatments can
release chemicals or fumes that are dangerous to breathe in or come into contact
with the skin. To protect yourself throughout the refinishing process, always
use the proper protective gear, such as masks, gloves, and safety goggles.
How to Clean and Maintain a Hardwood Floor
1. Frequent Cleaning: To avoid dirt buildup, sweep or
dust every day. To keep the surface
clean, mop once a week using a moist (not wet) mop and a pH-neutral cleanser.
2. Quick Spill Management: To avoid water damage or stains,
clean up spills right away.
3. Protective Measures: To reduce tracked-in debris, use
mats at entryways. To avoid scratching, place felt pads below furniture legs.
For extra protection in areas with heavy usage, think about using area rugs.
4. Steer Clear of Harsh Cleaners: Avoid using abrasive or
acidic cleaners, as they can harm the finish. Choose products made especially
for hardwood flooring.
5. Frequent Examinations: Check for damage on a regular
basis. Early problem-solving can help you avoid big repairs later.
Conclusion
Your hardwood floors will continue to be beautiful and
durable for many years to come if you follow these tips and keep up a regular
care routine.
Share:


